Create User Queries
A user query can be created in three ways:
- via the Self-Service Portal
- via the agent interface
- via email – inbound email actions
Via the Self-Service Portal
Creating user queries via the self-service portal is only available to the users specified in the Employee (employee) table. For other users, the Save button on the user query portal form is inactive.
To create a user query, complete these steps:
- Navigate to your Self-Service Portal and click Ask a question.
- Fill in the fields.
- Click Save.
User Query form fields
The user query Number has the INQXXXXXXX format and is populated automatically.
| Field | Mandatory | Description |
|---|---|---|
| Caller | Y | Specifies the originator of the user query. This field is populated automatically and is hidden on the Self-Service Portal form. |
| Urgency | Y | Specify the urgency of the issue. Typically, it is evaluated based on the time remaining until the issue impacts the business. For more information, see the Priority Matrix article. |
| Subject | Y | Add a brief description of the issue. If the subject length is over 100 characters, the characters exceeding this limit will be cut off. |
| Description | N | Add a detailed description of the issue. |
You can also contact the service desk by phone if their question is urgent. The phone number displayed on the page is specified in the itsm.notification.contact.phone system property.
You can attach some files by using the attachment window. To add files, drag them to the attachment window, or click Upload from your device and select them on your device.
After saving the form, you get a message that your query has been received:
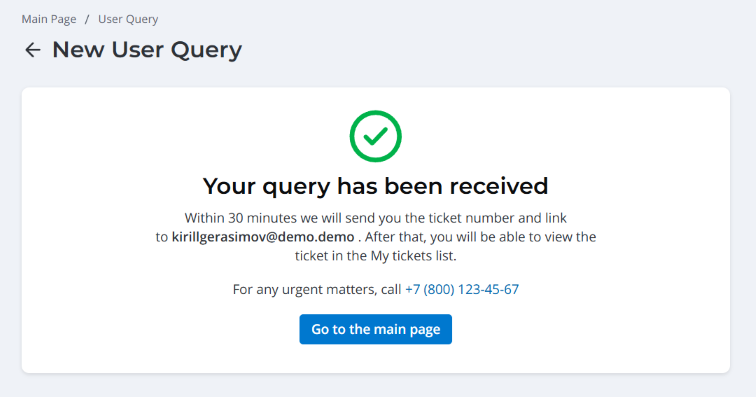
The message states a period of time required to process the query. The system administrator can change the response time value by editing translations of the source message located at {Instance URL}/record/source_message/168672734718023981. The message also displays the email address of the caller as well as the service desk phone number specified in the itsm.notification.contact.phone system property.
After the form is saved, a record is created in the User Query (itsm_inquiry) table. At this time, the newly created user query is waiting to be processed by a service desk agent.
Processing the user query implies classifying it as another record type. If the query was classified as a service request or incident, the user can view it on the portal via the Activities menu → Tickets.
Via the agent interface
Role required: ITSM_agent.
To create a user query, complete these steps:
- Navigate to User Queries → All User Queries.
- Click New to add a record for a new user query and fill in the fields.
- Click Save or Save and exit to apply the changes.
User Query form fields
The user query Number has the INQXXXXXXX format and is populated automatically.
| Field | Mandatory | Description |
|---|---|---|
| Caller | Y | Specifies the originator of the user query. |
| Contact type | Y | Define the source from which the request is received. Available options:
|
| Related ticket | N | The field displays the related tickets affected by the user query. The user query is automatically connected to a related record and displayed on its form. The field is displayed when the value of the itsm_inquiry.enable_multiple_related_entities property is false and the related ticket is created. |
| Related tickets | N | The field displays all related tickets affected by the user query. The user query is automatically connected to related records and displayed on their forms. The field is displayed when the value of the itsm_inquiry.enable_multiple_related_entities property is true and at least one related ticket is created. |
| Subject | Y | Add a brief description of the issue. |
| Description | N | Add a detailed description of the issue. |
| State | Y | This field displays the work state. Available states:
|
| Urgency | Y | Specify the urgency of the issue. Typically, it is evaluated based on the time remaining until the issue impacts the business. For more information, see the Priority Matrix article. |